Windows 10 has tightened the security of user accounts. In other words, when creating an account you are requested to enter an email address and pass several security hoops to make it work.
The main reason for a user account is to secure your computer from unauthorized access by other persons. In Windows 10 you may create separate accounts for you, for your children, for other family members, of for colleagues if the computer is used in an office environment. Each user account can be granted different levels of access to Documents, Music, Photos, etc. It is even possible to place restrictions on children’s accounts.
In this tutorial, I will show you how to create a user account in Windows 10, step-by-step.
1. Go to Start menu -> Settings -> Accounts
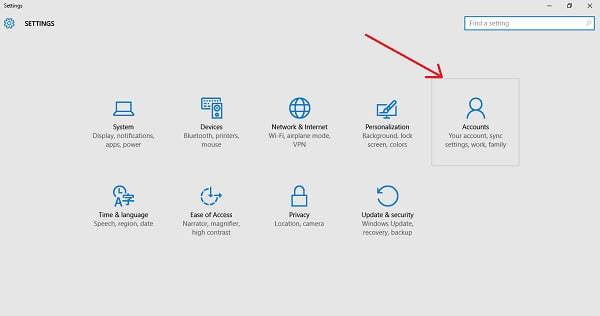
2. Choose “Family and others” left side of the window.

On the right, you can add an account for a family member or someone else. Creating an account is identical for either family or other users.
3. Add an adult or a child

Enter their email address (the email address must be associated with a Microsoft account @hotmail.com, @outlook.com, @microsoft.com, @msn.com, etc.) The person will be sent an invitation via email.
4. Manage users
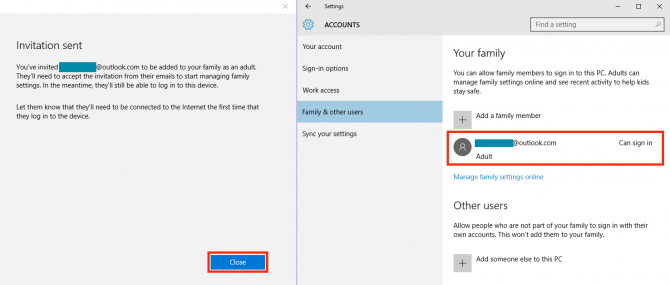
Back to the previous screen and you will see “Adult, Pending”. It means that the user you have added previously has not yet confirmed the email.
5. Accept the invitation
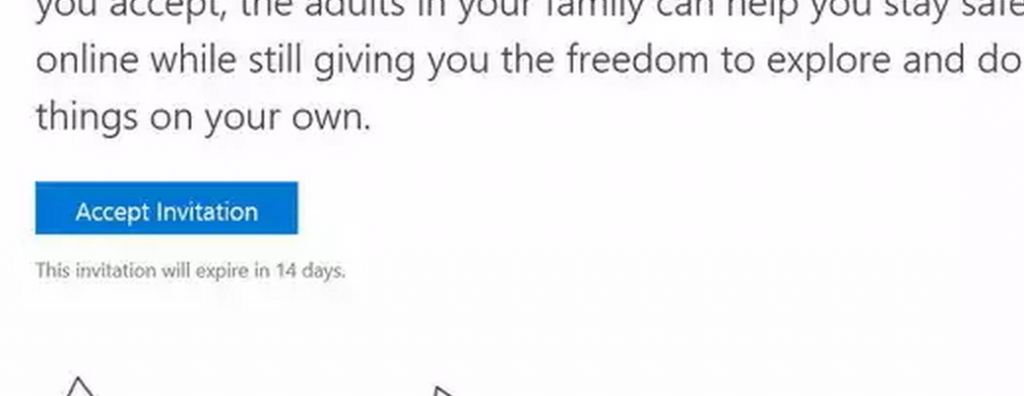
To set the full working account, the user you have invited must:
- login into their account on the computer
- open up the Mail app
- check the Inbox
- click the “Accept Invitation” button
Setting up a password for an account is recommended and important to protect the files and settings associated with that account.
TIP: If you want to learn how to setup a password for an account, please refer to this tutorial.