Sewing is no longer taught in the local school system. But it used to be and what a time that was. Girls learned how to use the needle and thread and they were inspired to do things they never would have thought being capable of. While they didn’t learn how to start a profitable business, they did get the hang of stitching up pieces of fabric to make embellishments.
In the old days, women were courageous. They didn’t fear using the needle and thread. Neither were they afraid of the sewing machine. If you’re part of the old generation, chances are a sewing lover. Don’t you want to pass on that passion to your child? Of course, you do. Teaching your kid how to sew opens a new life of skill. Sewing is a useful skill, for both girls and boys.
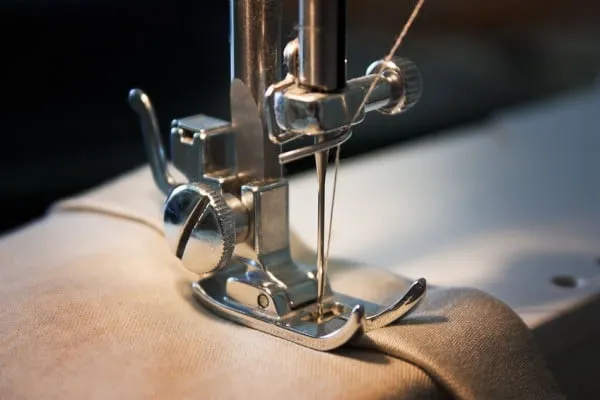
If you’re genuinely interested in teaching your little one how to sew, you will need a new sewing machine. The thing that is lying around your home isn’t suitable for learning. In fact, it is no longer suitable for your requirements. Sell your vintage sewing machine and buy a new one. since buying stitching equipment is an investment, make sure to do your homework. Learn as much as you can about the new models sewing machines and see what the experts have to say.
Teaching your child how to stitch is the easy part since the sewing machine will be doing all the hard work. However, if you have never taught a class or tutored kids, chances are you don’t have any idea where to start. Well, you can start with these tips.
Introducing your child to the sewing machine
Before even using the stitching equipment, your kid needs to learn it’s components. All sewing machines are designed in the same way. The parts that make up the sewing machine are the upper part and the lower parts. The upper part is made up of head, arm, and bed. The lower part, on the other hand, comprises the band wheel, bad wheel crank, belt shifter, dress guars, belt guide, treadle, rod, and legs.
This is the basic structure of any sewing machine. Going into details about isn’t recommended because your kid will lose their interest. Before getting into these details, you might want to show your child where the power switch is. Finding the power switch isn’t brain surgery, but it’s located in different places, depending on the make and model of the sewing machine. As a rule, the power switch is on the right side of the body.
Learning how to set up the sewing machine is the most important thing. Setting up the sewing machine is a difficult task for beginners. After the stitching equipment has been placed on a sturdy table, it’s necessary to show your kid how to do the following:
- Thread the bobbin – The thread goes through the tiny hole inside the bobbin. Remind your little one that it’s necessary to hold the thread gently.
- Threading the machine – Since the needle is already in the sewing machine, all your kid has to do is get the required needle and thread it.
- Loading bobbin placement – The bobbin compartment is protected by a plastic cover. The bobbin has to be held like a P with the thread for bobbin loading. Place the bobbin in the holder and pull the thread through.
Teaching your kid how to use the sewing machine
Many say that it’s dangerous to let your kids us a real sewing machine. We strongly recommend that you don’t listen to such nonsense. If you’re there to supervise, nothing bad will happen. Learning on a real sewing machine works just as much as the sewing machine that you use. The question now is what you teach. Well, sewing terms aren’t that important, but doing stiches is. There are literally dozens of stitches that you can show to your kid. A good idea is to limit yourself to the most important ones. These are the most important stitches to learn:
- Back stitch – a backstitch is a clean line. You can teach this type of stitch by stretching fabric along the seam. Your child needs to have a solid line, which is achieved by sewing one stitch length backwards on the front side and 2 on the reverse side.
- Straight stitch – this type of stitch is so basic that it isn’t even necessary to provide instructions.
- Lock stitch – Show your little one how to link together
Sewing projects you can do with your kid
It’s needless to say that you don’t have to begin with complicated things. When it comes to sewing projects with kids, you can do things like headbands, scarves, and rice pads. There is no limit to what you and your kid can do.
We have given many examples, but not given any details. Let’s talk about making rice bags. Making rice bags like those you find in stores isn’t complicated at all. All you and your little one have to do is stitch the fabric on the sewing machine. There’s no need to use a needle and thread. It’s necessary to not forget to iron the fabric and use the sewing machine.
What about headbands? To make adorable headbands, cut enough length of elastic, fold the large and small panels and press. Next, stitch the ends in place. Makes sure that the ends of the elastic are neatly stitched.
Related Article:11 Heavy Duty Leather Sewing Machines
Contributed by:http://www.sewingmachines.reviews/